Hot Jamaican Hard dough Bread (Hardo Bread) Recipe
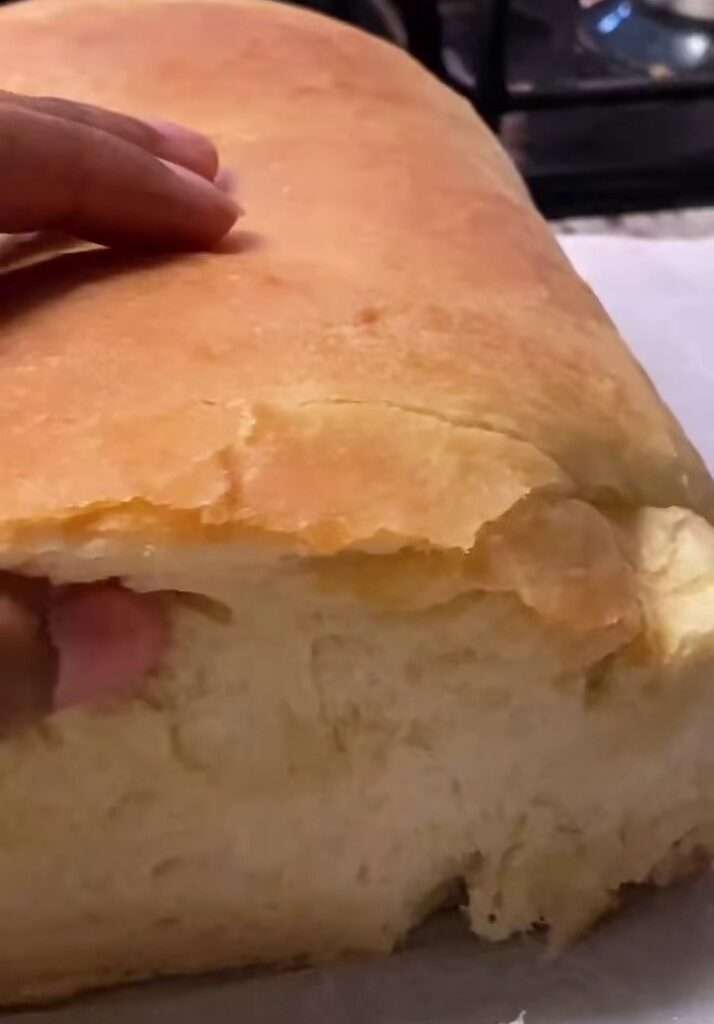
When I first traveled to Jamaica as a child, one of my favorite memories was walking into my grandmother’s kitchen and smelling the irresistible aroma of freshly baked hard dough bread, or “Hardo bread” as Jamaicans call it.
I remember sitting down at the table, buttering a warm slice straight out of the oven, and experiencing that soft, dense texture for the first time. Sometimes, I’d even add cheese for an extra treat.
At dinner, hard bread would always be served with traditional Jamaican dishes like saltfish and ackee, creating an unforgettable combination of flavors.
What is Jamaican Hard Dough Bread?
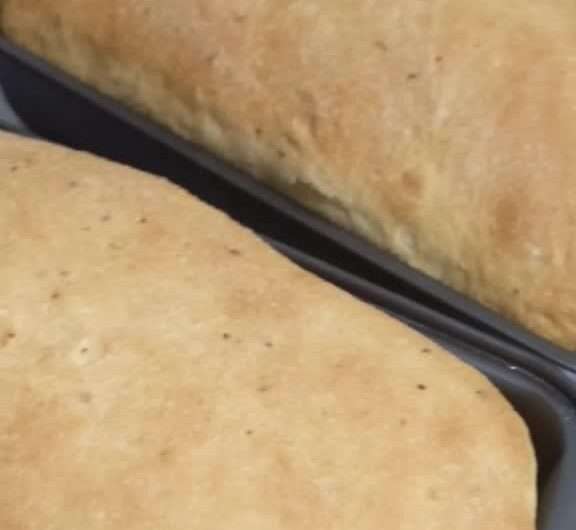
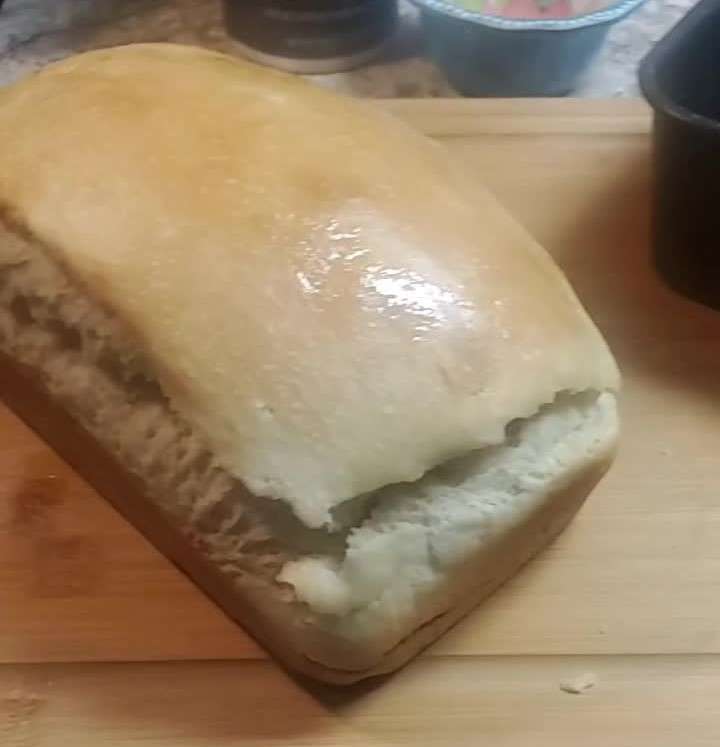
Jamaican hard dough bread, or Hardo bread, is a dense, slightly sweet loaf with a soft yet chewy texture.
It’s thicker than your average loaf of bread and has a firmer crust, making it perfect for soaking up sauces and gravies from Jamaican stews or curries. The bread has simple ingredients like flour, sugar, yeast, and butter, but its unique baking process gives it a distinct taste and texture.
While it’s soft on the inside, the outer crust is firmer, providing that “hard dough” texture. This bread is ideal for Jamaican dishes or simply eaten with butter or cheese for a delicious snack.
The History of Jamaican Hard Dough Bread
Jamaican hard dough bread traces its roots back to the colonial era. Like many Caribbean foods, it evolved from a blend of African, European, and indigenous culinary traditions.
European settlers influenced bread-making, but over time, Jamaicans developed their unique recipe that suited the local climate and ingredients available.
Hard dough bread became a staple because it could be made easily with minimal ingredients, yet it was filling and could last longer than softer bread in the island’s humid conditions.
Today, Hardo bread is an essential part of Jamaican cuisine and culture, enjoyed by generations for its versatility and ability to complement a wide range of dishes.
Ingredients Substitutes
If you don’t have bread flour, you can use all-purpose flour, though the texture may be slightly softer. If you want a heartier loaf, try blending in a bit of whole wheat flour for added fiber and flavor.
Brown sugar gives the bread its signature warmth, but raw honey or even coconut sugar can be used for a more natural sweetness.
Butter adds richness, but olive oil or vegetable oil works just as well, especially if you’re keeping things dairy-free. For yeast, instant yeast is quick and easy, but active dry yeast will give you a slower rise and a deeper flavor.
Jamaican Hardo Bread Recipe
Ingredients:
- 2 ½ cups of bread flour (preferably high in gluten for better texture)
- 1 teaspoon of salt
- 2 ½ tablespoons of brown sugar (or substitute with raw honey for a more natural sweetness)
- 2 tablespoons of melted butter (or olive oil if preferred)
- 1 ½ teaspoons of instant yeast (or active dry yeast if using traditional proofing)
- 1 ¼ to 1 ½ cups of warm water (around 109-112°F / 43-44°C)
- Extra bread flour for kneading
- Vegetable oil or butter for greasing the pan
Tools:
Instructions:
Prep the Dry Ingredients: In a large mixing bowl, combine 2 ½ cups of bread flour with 1 teaspoon of salt. Stir them together, making sure the salt is evenly distributed throughout the flour.
Add the Sugar and Yeast: Next, add the 2 ½ tablespoons of brown sugar (or raw honey) and 1 ½ teaspoons of yeast into the bowl. Be sure to avoid placing the yeast directly on the salt, as it can inhibit the yeast’s effectiveness.
Incorporate the Wet Ingredients: Melt 2 tablespoons of butter and allow it to cool slightly. Add the melted butter to the dry mixture. If you’re using instant yeast, you can add it directly to the mixture. For active dry yeast, mix it in the warm water first and let it proof (froth) for about 5 minutes before adding to the dry ingredients.
Start Adding Water: Gradually add 1 ¼ to 1 ½ cups of warm water (the water should be warm but not hot—around 109°F is ideal). Slowly mix everything together to form a sticky dough.
Knead the Dough: Transfer the sticky dough onto a lightly floured surface and begin kneading. Continue kneading for about 10-12 minutes until the dough becomes less sticky and more elastic. If it’s sticking too much, add small pinches of flour, but avoid over-flouring the dough as this will make the bread dense.
First Rise: Once the dough is smooth and elastic, place it in a greased bowl. Cover it with plastic wrap or a damp cloth, and let it rise in a warm area for about 1 hour, or until it has doubled in size.
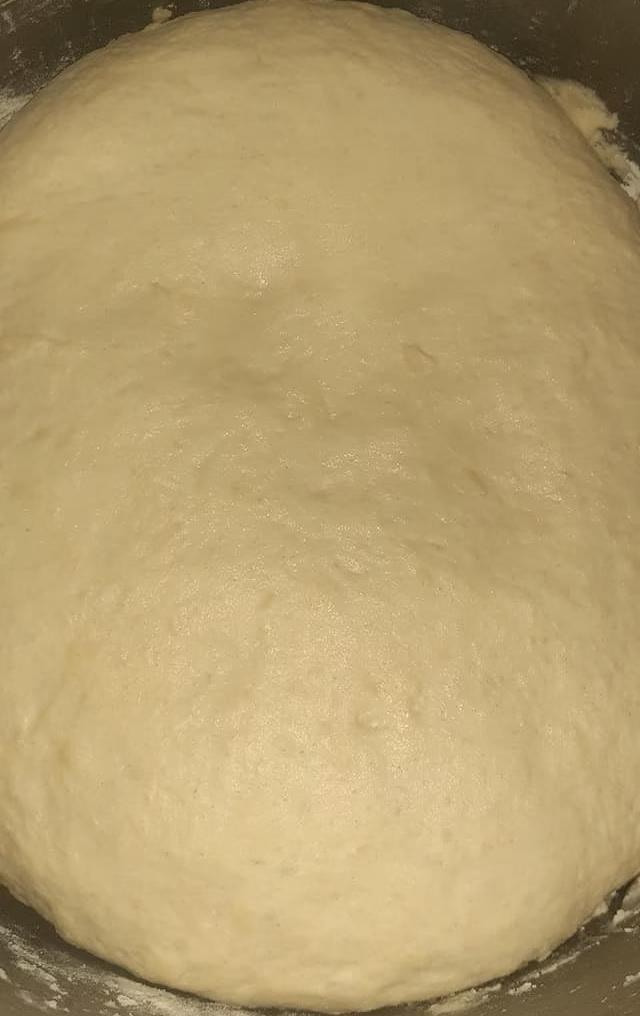
Shape the Dough: After the dough has risen, punch it down gently to release any gas bubbles. Turn the dough out onto your work surface and shape it into a loaf. Roll it into a tight log, making sure the seam is pinched and sealed at the bottom.
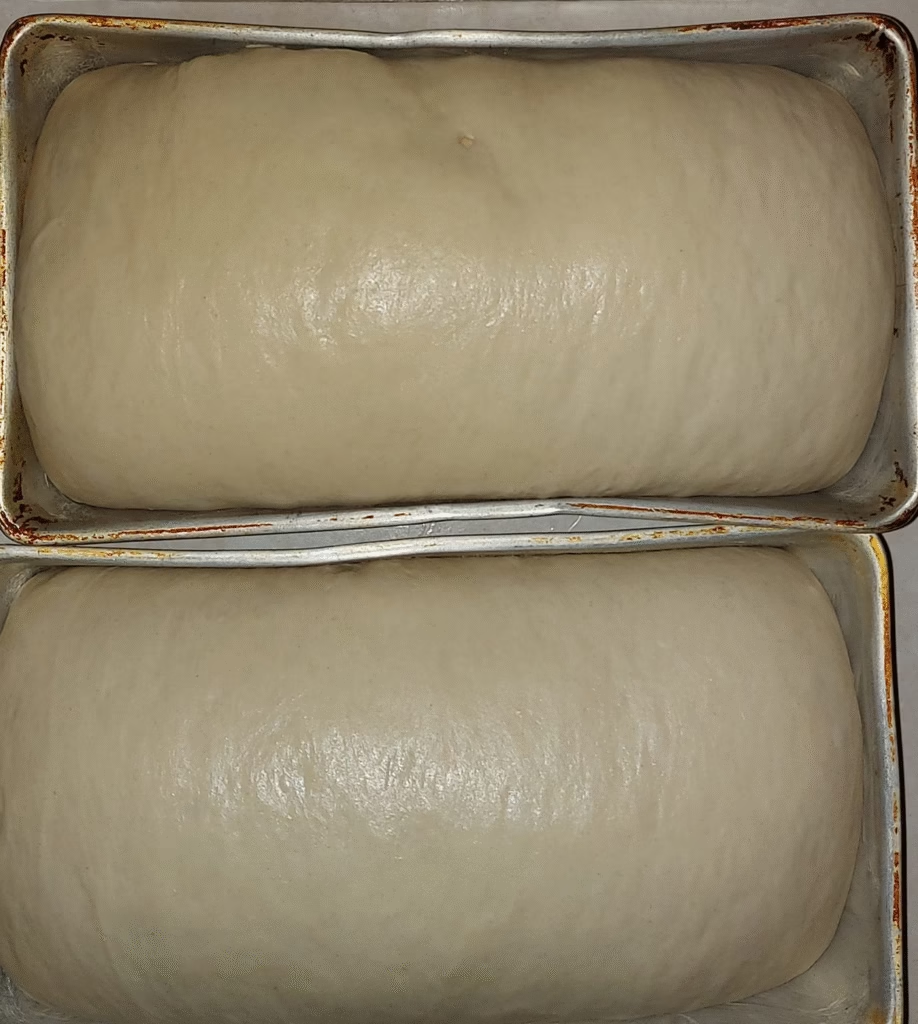
Second Rise: Place the shaped dough into a greased 9×4-inch loaf pan. Cover it with plastic wrap again, and let it rise for another 45-50 minutes, or until it almost reaches the top of the pan.
Preheat the Oven: Preheat your oven to 380°F (190°C).
Bake the Bread: Once your bread has risen a second time, gently brush the top with melted butter. Place the loaf in the middle of the oven and bake for 35-40 minutes, or until the top is golden brown and the bread sounds hollow when tapped.
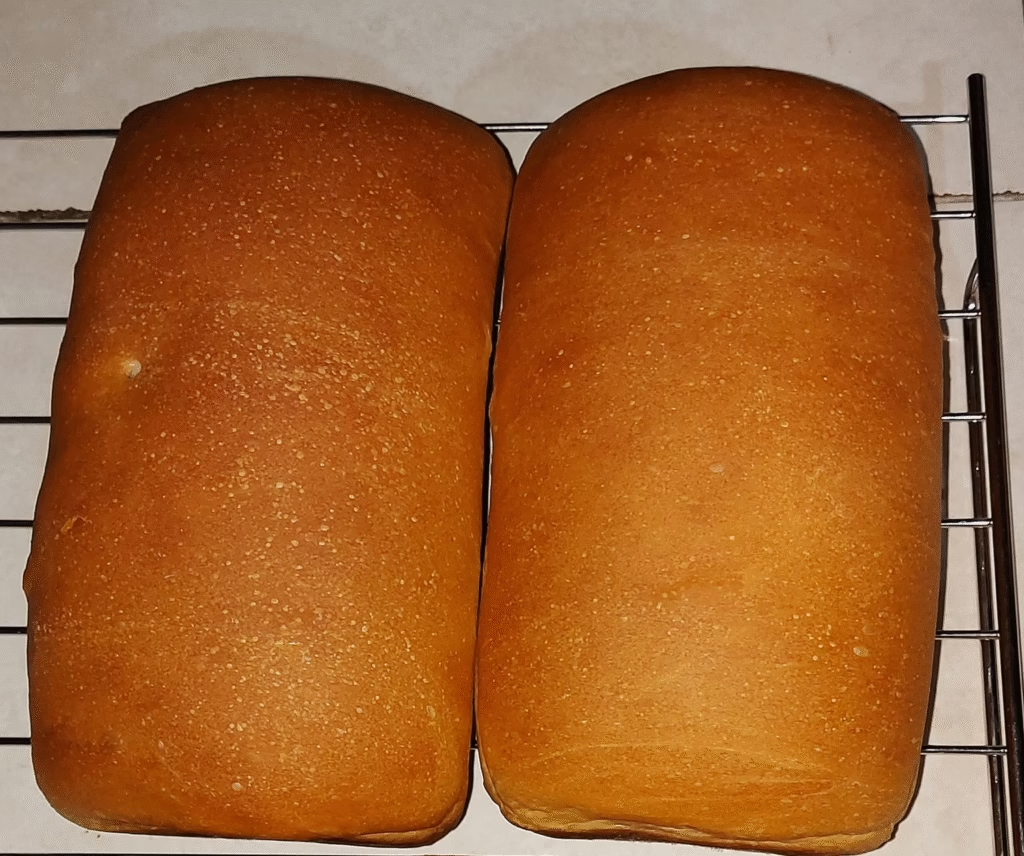
Cool and Serve: After baking, carefully remove the bread from the pan and transfer it to a wire cooling rack. While still warm, brush the top with a bit more melted butter for a soft, shiny crust. Allow the bread to cool for at least 15-20 minutes before slicing.
Enjoy! Serve the bread with butter, or make sandwiches. Nothing beats the taste of fresh, warm, homemade bread.
Hot Jamaican Hard dough Bread ( Hardo Bread) Recipe
Difficulty: Beginners12
servings2
hours45
minutes180
kcalIngredients
2 ½ cups of bread flour (preferably high in gluten for better texture)
1 teaspoon of salt
2 ½ tablespoons of brown sugar (or substitute with raw honey for a more natural sweetness)
2 tablespoons of melted butter (or olive oil if preferred)
1 ½ teaspoons of instant yeast (or active dry yeast if using traditional proofing)
1 ¼ to 1 ½ cups of warm water (around 109-112°F / 43-44°C)
Extra bread flour for kneading
Vegetable oil or butter for greasing the pan
Directions
- Prep the Dry Ingredients: In a large mixing bowl, combine 2 ½ cups of bread flour with 1 teaspoon of salt. Stir them together, making sure the salt is evenly distributed throughout the flour.
- Add the Sugar and Yeast: Next, add the 2 ½ tablespoons of brown sugar (or raw honey) and 1 ½ teaspoon of yeast into the bowl. Be sure to avoid placing the yeast directly on the salt, as it can inhibit the yeast’s effectiveness
- Incorporate the Wet Ingredients: Melt 2 tablespoons of butter and allow it to cool slightly. Add the melted butter to the dry mixture. If you’re using instant yeast, you can add it directly to the mixture. For active dry yeast, mix it in the warm water first and let it proof (froth) for about 5 minutes before adding to the dry ingredients.
- Start Adding Water: Gradually add 1 ¼ to 1 ½ cups of warm water (the water should be warm but not hot—around 109°F is ideal). Slowly mix everything together to form a sticky dough.
- Knead the Dough: Transfer the sticky dough onto a lightly floured surface and begin kneading. Continue kneading for about 10-12 minutes until the dough becomes less sticky and more elastic. If it’s sticking too much, add small pinches of flour, but avoid over-flouring the dough as this will make the bread dense.
- First Rise: Once the dough is smooth and elastic, place it in a greased bowl. Cover it with plastic wrap or a damp cloth, and let it rise in a warm area for about 1 hour, or until it has doubled in size.
- Shape the Dough: After the dough has risen, punch it down gently to release any gas bubbles. Turn the dough out onto your work surface and shape it into a loaf. Roll it into a tight log, making sure the seam is pinched and sealed at the bottom.
- Second Rise: Place the shaped dough into a greased 9×4 inch loaf pan. Cover it with plastic wrap again, and let it rise for another 45-50 minutes, or until it almost reaches the top of the pan.
- Preheat the Oven: Preheat your oven to 380°F (190°C).
- Bake the Bread: Once your bread has risen a second time, gently brush the top with melted butter. Place the loaf in the middle of the oven and bake for 35-40 minutes, or until the top is golden brown and the bread sounds hollow when tapped.
- Cool and Serve: After baking, carefully remove the bread from the pan and transfer it to a wire cooling rack. While still warm, brush the top with a bit more melted butter for a soft, shiny crust. Allow the bread to cool for at least 15-20 minutes before slicing.

