


Trini Homemade Snow Cone Recipe
In Trinidad and Tobago, you can find the snow cone man with his horn around the neighborhood. I was fortunate to have them sold next to my school and would purchase a snow cone every Friday evening.
However, for many, the nostalgia of a homemade Trini snow cone brings back childhood memories of sticky hands, syrup-stained shirts, and pure happiness.
Today, let’s recreate that magic with a simple yet irresistible homemade snow cone recipe.
| Tool | Why I Love It | Link |
|---|---|---|
| Ammeloo Hybrid | Versatile and perfect for everyday use | Shop Now |
| Cooking Utensils Set | Complete set for easy meal prep | Shop Now |
| Kikcoin Pots & Pans + Baking | Durable, non-stick, great for baking | Shop Now |
Disclosure: Some links are affiliate links. I may earn a small commission at no extra cost to you.
What is a Snow Cone?
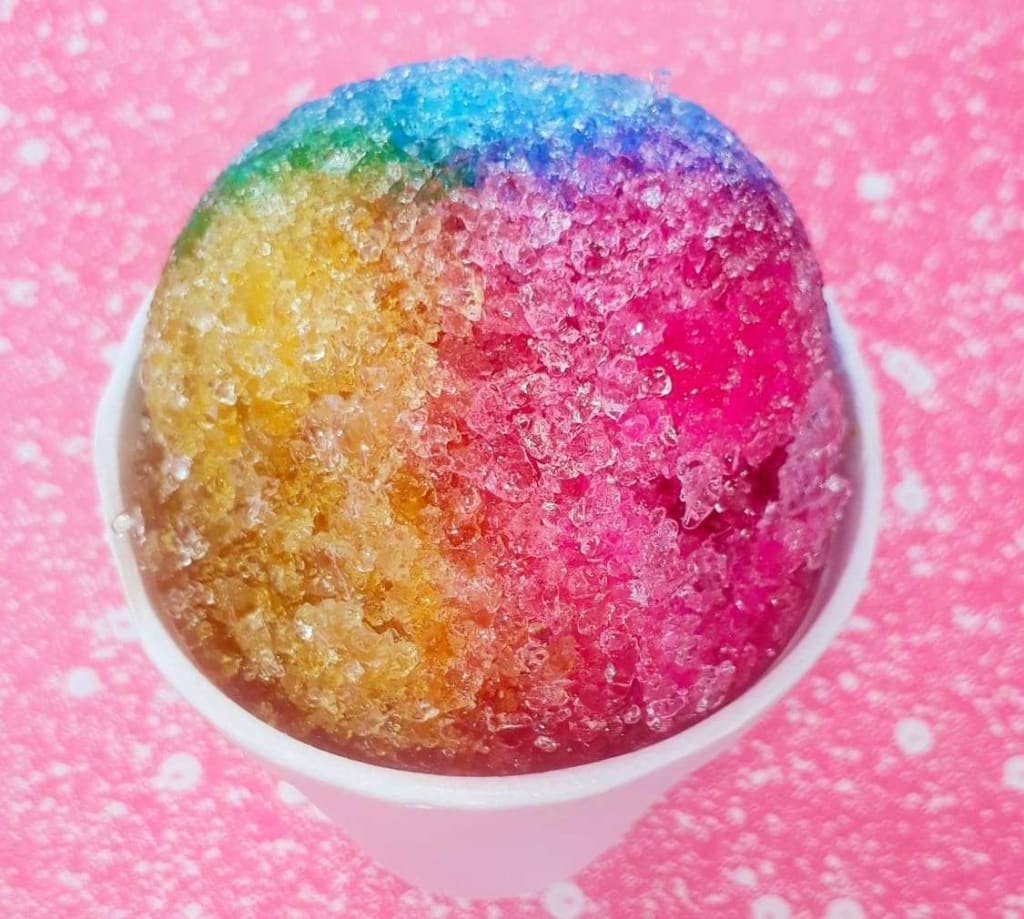
A snow cone is a shaved or crushed ice dessert, typically drizzled with sweet flavored syrups.
Unlike its finely shaved cousin, the Hawaiian shave ice, snow cones have a chunkier texture. The Trini version often features rich, homemade syrups and sometimes a drizzle of condensed milk for added decadence.

Trini Homemade Snow Cone Recipe
Ingredients
- For the Ice:
- 4 cups of ice cubes (crushed or shaved)
- For the Syrup:
- 1 cup sugar
- ½ cup water
- 1 teaspoon vanilla extract
- ½ teaspoon almond essence (optional)
- ½ teaspoon citric acid or fresh lime juice
- Food coloring of choice (red, blue, or green for classic flavors)
- For Toppings:
- Condensed milk (optional)
Instructions
Prepare the Syrup:
In a small pot, combine sugar and water. Heat over medium-low until sugar dissolves completely.
Add vanilla extract, almond essence, and citric acid. Stir well.
Remove from heat, add food coloring, and allow to cool completely before use.
Assemble the Snow Cone
Drizzle generously with the homemade syrup.
For extra richness, drizzle with condensed milk.
Homemade Syrup
The syrup is the flavor in the snow cone. It has to be sweet and full of color. In Trinidad, vendors use bottles with bright red, blue, green, and red syrups, with each color having its own taste.
This version uses a simple base with vanilla and almond essence. Also, Citric acid adds a little tang. I always make two or three flavors at once so people can choose or layer them.
Citric acid gives the syrup a little brightness. Without it, the syrup can taste flat. With it, the flavor pops. I’ve made syrup both ways, and I always come back to the version with citric acid.
My Best Tips for Crushing the Ice
The ice should be soft and fluffy. We do not want any chucky ice over here. It must hold its shape when packed in the cup and melt quickly in your mouth.
Use an ice shaver if you have one. A food processor works too. Pulse until the ice looks like snow. Only crush what you need because your ice will melt fast.
I’ve made the mistake of prepping too much and ending up with a soggy mess. Thus, fresh is best.
Flavor Variations I Love
You can make different syrups using the same method. Just change the flavor base and color.
• Sorrel Syrup: Simmer one cup of dried sorrel petals in one cup of water for ten minutes. Strain. Add one cup of sugar. Cook until syrupy. Add red coloring if needed. This one reminds me of Christmas. You will need to add all the spices for sorrel. I usually purchase the sorrel bag that you’ll find in the grocery store. It has the bay leaf, clove, cinnamon stick, etc.
• Guava Syrup: Combine half a cup of guava puree, one cup of water, and one cup of sugar. Simmer and reduce. Add pink coloring. Guava is sweet and tropical. It has a mellow richness that works really well.
• Lime Syrup: Use the zest and juice of two limes, one cup of water, and one cup of sugar. Add green coloring. Citric acid optional. This one is bright and refreshing. Perfect for hot days. I like it with just a touch of condensed milk, so that I can still taste the lime.
• Bubblegum Blue: Use almond essence and blue coloring.
Serving Tips That Make a Difference
Presentation matters. Use paper sanitary cups for that street-style look. Chill the syrup before using to help the ice stay firm. Keep condensed milk in a squeeze bottle for easy application. If you’re serving a group, set up a snow cone station with syrups and toppings. Add a small umbrella or paper straw for flair.
I’ve served these at birthdays, cookouts, and even bridal showers. They’re always a hit.
FAQ
Can I use store-bought syrup? Absolutely! Store-bought syrups work fine, but homemade syrups add that authentic Trini flavor.
Can I make this sugar-free? Yes! Substitute sugar with a sugar-free alternative and adjust flavors accordingly.
What’s the secret to the perfect snow cone? The balance of flavors! A little citric acid or lime juice enhances the sweetness and adds a refreshing tang.
With just a handful of ingredients, you can bring the lively flavors of Trinidad’s street-side snow cone vendors right into your kitchen. Perfect for a sunny day or just a nostalgic treat, this recipe guarantees an authentic taste of the Caribbean.
More Trini Drinks

Trini Homemade Snow Cone Recipe
Course: DessertCuisine: TrinidadDifficulty: Easy4
servings10
minutes5
minutes150
kcalTrini snow cone is my favorite go-to treat for hot days.
Ingredients
4 cups of ice cubes (crushed or shaved)
For the Syrup:
1 cup sugar
½ cup water
1 teaspoon vanilla extract
½ teaspoon almond essence (optional)
½ teaspoon citric acid or fresh lime juice
Food coloring of choice (red, blue, or green for classic flavors)
Condensed milk (optional)
Directions
- In a small pot, combine sugar and water. Heat over medium-low until sugar dissolves completely.
- Add vanilla extract, almond essence, and citric acid. Stir well.
- Remove from heat, add food coloring, and allow to cool completely before use.
- If using ice cubes, crush them in a blender or food processor until they reach a snow-like texture.
- Scoop into cups or paper cones.
- Drizzle generously with the homemade syrup.
- For extra richness, drizzle with condensed milk.
- Serve immediately and enjoy the sweet taste of nostalgia!


